Once we’ve mixed the dough together, we can move onto the kneading. Many people get intimidated by kneading but they shouldn’t, it’s actually really quick and easy by hand. Check out the video and recipe below.
This is part 2 of the series about making Neapolitan pizza from scratch. You don’t need an electric mixer or anything special, you just need (excuse the pun) your hands and a bowl!
If you missed part 1 on mixing the ingredients you can check it out here. If you want to find out about kneading pizza dough by hand then read on!
As well as detailed instructions in this article, I have made a video below to show the kneading technique I like to use. Feel free to check out the video below to see how easy kneading pizza dough by hand really is!

Make sure you’ve seen my previous article in this series on mixing Neapolitan pizza dough. Once you have read that article and watched the video, you’ll be in the perfect place to start kneading!
If you’ve watched the video above and you’re ready for the windowpane test in part 3 then click here. If you want to find out more about kneading pizza dough by hand then read on!
And don’t miss the recipe at the bottom of the page!
If you need to be reminded of the recipe, feel free to click here to skip ahead to the recipe. For detailed information on kneading, keep reading! (I’m a poet and I didn’t know it.)
The simple answer is that kneading pizza dough makes the dough stronger. A dough that has been kneaded well can be shaped without worrying about whether the dough is going to rip. Weak dough is no fun to work with!
As well as making pizza dough stronger, kneading also helps to make the dough more stretchy. This makes the pizza much easier to shape. You should be able to work with the dough without fighting it.
In a word, yes! I actually recommend that beginners try kneading by hand. It’s much easier than you probably think it is. Also, kneading by hand will improve your feel for pizza dough very quickly.
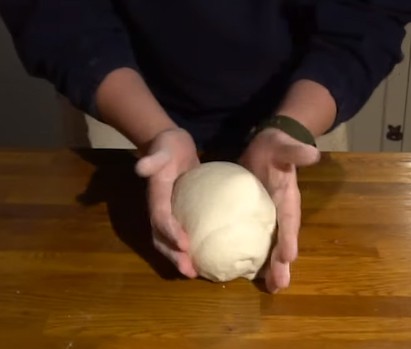
I find the best way to learn about pizza dough is to get stuck in! Don’t worry about getting your hands messy, it cleans off really easily.
In fact, I find kneading by hand to be quite therapeutic. It’ s also very rewarding knowing that you made your pizza completely by hand!
The easiest way to knead pizza dough is to use the heel of your hand. With the dough on the counter, press down hard with the heel of your hand. You should be trying to stretch the dough as much as possible as you do this.
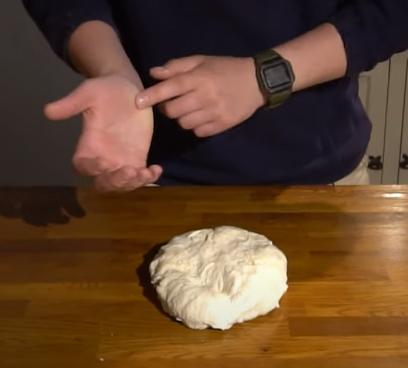
Then gather the dough up and start again. The great thing about this is that it’s super easy! This is no correct technique. Just try to get a feel for it and do what works for you.
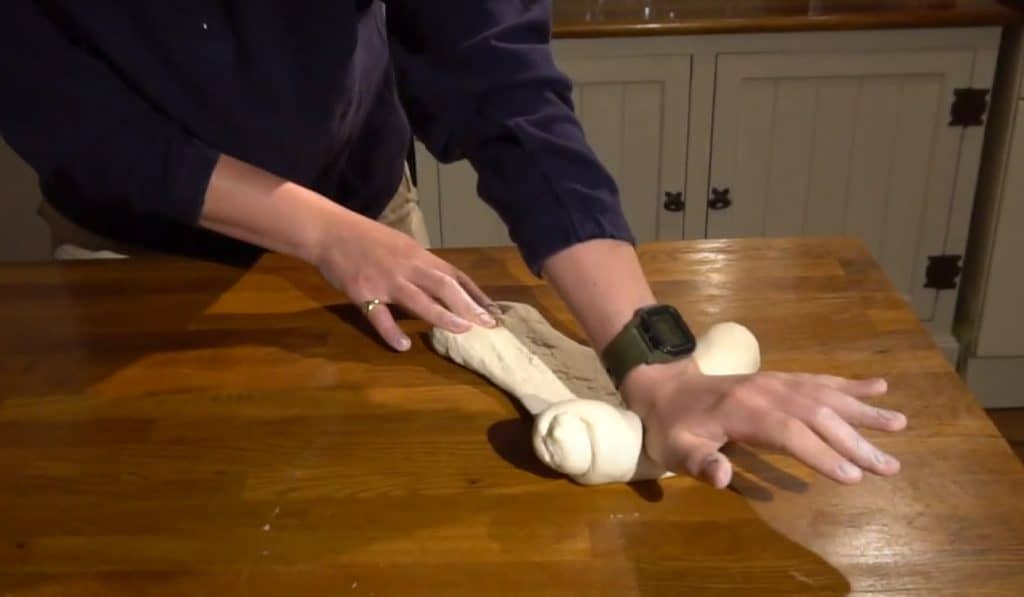
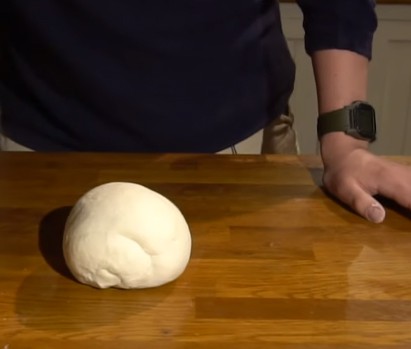
The technique that I use in the video at the top of the page is quite easy to do. I call it the croissant method as you roll it up so it looks a bit like a croissant.
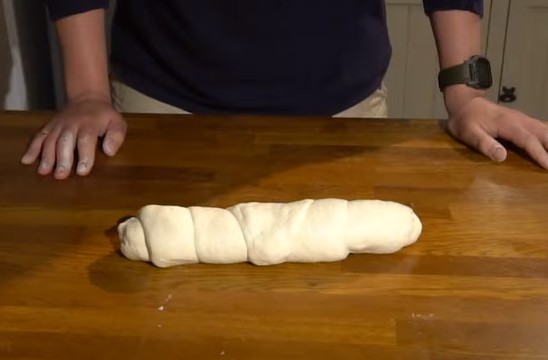
The reason I find this technique works so well is that the dough becomes thin as it rolls up. This means that when you do a quarter turn the dough is really easy to knead since it is not very wide or thick.
I see a lot of people kneading the pizza dough into a ball shape but I find this takes a lot more work. Because the dough is so thick, it means you have to use all your strength to stretch the dough.
I therefore only recommend balling the dough at the end of the kneading process.
With one hand (non-dominant hand) pin the nearest end of the dough to the counter. With the heel of the opposite hand, press down on the far side of the dough, stretching it away from you.
Then roll the dough up with your fingers and stretch out the middle of the dough. Repeat this process until you can’t stretch the dough any more.
At this point, turn the dough 45 degrees (quarter turn) and repeat the process.
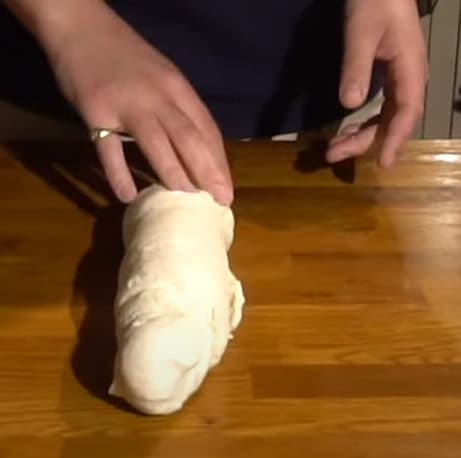
Each time you do this you should find the dough becomes easier to stretch. This means you’re doing a good job of kneading!
If you struggle with the technique I explained above, you can try something called the “fraisage” method. This is another technique that’s borrowed from artisan baking.
Basically you just spread the dough out on the counter as thin as you can using the heel of your hand. Don’t worry if the dough rips as you do it. You can then gather all the dough up and repeat the process.
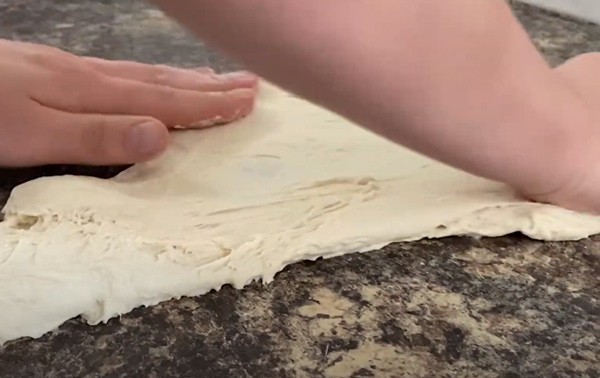
Usually this method is used in bread making when adding fat (such as butter) to the dough. But as well as being useful for adding ingredients, it also kneads the dough at the same time.
I have shown this technique before in another video I made on kneading. Here’s the video below:

If you try this technique you will probably have to spend a little longer on it. However, it is really easy and pretty fool proof. If you find you’re struggling with kneading, give the frisaige a go!
I hear many people and recipes saying that you should knead for around 10-15 minutes. In my opinion, this is way too long. I recommend kneading your pizza for around 5 minutes. That’s right, just 5 minutes!
The secret is that you should allow your pizza dough to rest before kneading. As soon as you have mixed your ingredients together, let your dough rest for around 30 minutes before kneading.
Check out my previous article in this series – mixing Neapolitan pizza dough – to check out how to mix the ingredients.
Resting pizza dough before kneading makes the dough softer and stretchier. It makes your job of kneading much easier.
Resting your pizza dough is almost like cheating! It’s that good!
The technical term for this process is called the “autolyse”. It’s a technique commonly used in artisan baking.
The autolyse basically gives the flour time to absorb the water and become a dough. If you skip this stage, you end up spending the first few minutes just working the ingredients together.
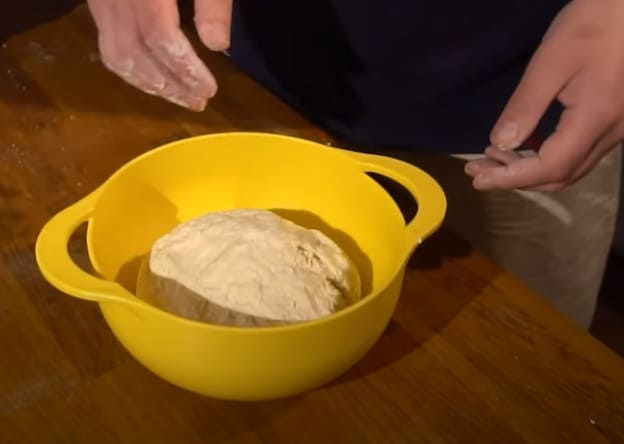
Just be sure to cover your dough well as you let it rest. We don’t want the pizza dough to dry out. I tend to place the dough in a bowl and cover it with a plastic bag. Cling film also works well.
You probably won’t believe how well this simple resting works until you try it! You leave the dough as a shaggy mess and you come back and its lovely and soft and smooth. The dough is wonderful to work with and easy to knead.
Trust me it works!

With 00 flour:
Note: Caputo 00 pizza flour is an excellent option, especially for Neapolitan style pizza. It is one of the more widely available “professional” pizza flours. I have provided a link to it on Amazon below (a large chef’s bag). Aside from this flour, most 00 flours should work fine.
With Strong White Bread Flour:
Note: Any high protein white bread flour should be a decent substitute for 00 flour. Ideally you want a protein content of around 12% – 14% (sometimes shown as 12g – 14g per 100g). I’ve provided a link to a strong white flour on Amazon below (a large chef’s bag).
Not all the following utensils are required but these are what I use and they tend to make the process easier.
I’ve provided Amazon links for you to check the prices of these items if you don’t have them already. They are usually available for reasonable prices.
Large mixing bowl
Metal mixing bowls are lightweight, stackable, and easy to clean.
Digital weighing scales
These are affordable, easy to use, and very precise (accurate to 1g).
Accurate digital weighing scales
Scales accurate to 0.01g are perfect for weighing the tiny amounts of yeast required for long proves.
Pizza proofing box
Pizza proofing boxes are an excellent investment, especially if you intend on holding pizza parties at some point!
Stick Blender
With a stick blender, you can blend the tomatoes in a bowl and the clean up takes no time at all.
12″ pizza peel
A 12 inch peel is ideal for Neapolitan pizza and makes loading and removing your pizza from the oven easy.
And that’s it! Kneading pizza dough by hand is really easy. Check out part 3 here where I show you how to tell if your dough is kneaded enough.
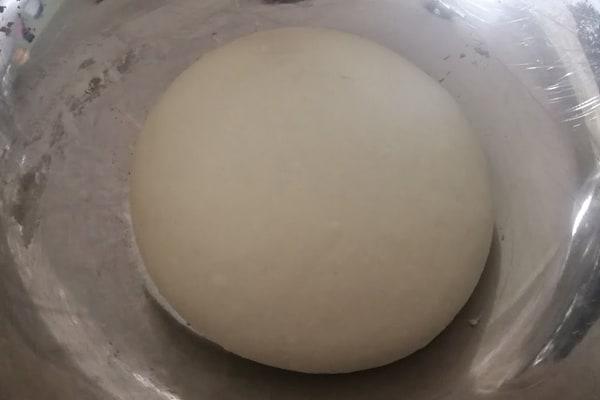
Kneading pizza dough is really easy, it just takes a little practice. Give this method a go and you may be surprised how well it works. And how easy it is!
Click here to check out part 3 where I show you how to tell if your dough is kneaded enough.
If you missed part 1, check it out here. I provide a great Neapolitan pizza recipe and I discus the ingredients you need and how to mix them together before kneading.
If you’re interested in founding out more about the autolyse – the resting stage, there’s a short article on bakerpedia here which goes into more detail.
Now let’s get kneading!

I’m Tom Rothwell and I’m super passionate about all kinds of homemade pizza! In the last few years I've been on a quest to find the perfect pizza. Now I'm sharing what I've found out with the world!

If you're interested in hiring me for your event in the UK, feel free to check out my website with the link below.
Pizza Catering
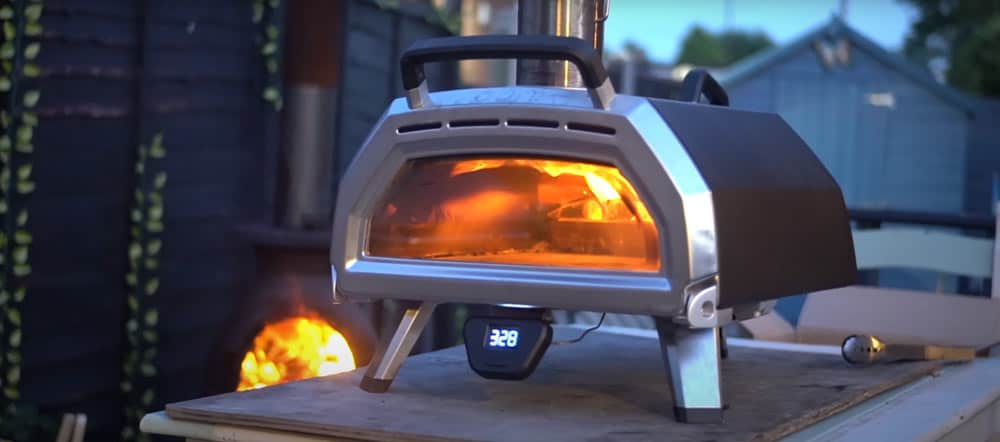
I often get asked what type of oven I use for my pizzas. Well, I use a pizza oven made by a company called Ooni.
The range of pizza ovens that Ooni offers is just brilliant. They cover all bases, and all price points. There's affordable and portable models such as the Fyra 12 Pizza Oven and then there's state-of-the-art models such as the Karu 16 Pizza Oven pictured below.
In all honesty, I would say that the oven makes a huge difference. If you're looking to make authentic Italian pizza, a pizza oven is a must.
By clicking the link below and purchasing from Ooni, you would be supporting this website. I've been using their ovens for a long time now and I wouldn't recommend them if I didn't believe in their products.
Time to make some amazing pizza!

I’m Tom Rothwell and I’m super passionate about all kinds of homemade pizza! In the last few years I've been on a quest to find the perfect pizza. Now I'm sharing what I've found out with the world!

If you're interested in hiring me for your event in the UK, feel free to check out my website with the link below.
Pizza Catering
This is such an amazing site – thanks Tom! I made the best pizza I have ever eaten thanks to your instructions. I’m cooking it by getting a cast iron saucepan really hot and cooking the dough in this for two minutes (adding topping after one minute), then putting the whole thing under a very hot grill for a further two minutes and it comes out beautifully. It looks very nearly as good as the ones in your photos! Worth a try for those who don’t have access to a dedicated pizza oven.
I’m really looking forward to the next video in the pizza school series!
Hi Henry. Thank you so much for the positive feedback. I’m glad the recipes are working out for you!
You can check out part 3 of the series – the windowpane test – here.
Well done with the pizzas, keep up the good work!
Hi Tom,
this site is so great! I just watched all of your videos on Youtube and I think I‘m ready to go now. Is the dough resting at room temperature or in the fridge?
Best regards from Germany,
Verena
Hi Verena, thanks for the kind words. I’m glad you’re finding it all useful!
Everything in this recipe takes place out of the fridge at room temperature.
Good luck in Germany!
These tutorials are incredibly useful! Thanks for putting the time in to explain each step so thoroughly. They are not only east to follow, but I really feel like I’m learning what’s going on. I made my first round of Neapolitan pizzas last week and they turned out amazing!
Awesome Mark! Thank you for the kind words and keep up with the pizzas! A well made Neapolitan pizza is very difficult to beat.
Tom,
Your Neapolitan Pizza Crust is by far the best recipe I have found.
Not to mention your attention to detail too.
I for one have learnt so much by reading all the information on this website and watching your incredible videos.
Thank you!
Thanks so much Bernadette, I’m glad my recipes and videos have been helpful!
I am making this dough for the 2nd time and just can’t seem to get it right! After the first hour rest, yours appears to be much softer/easier to work with than mine.
The first time I used a mixer, the 2nd time I mixed by hands and both times I’ve ended up with a very firm/tough dough after the 20 hour rest. I didn’t need to use a scraper or flour to turn it into balls and I can see yours way very soft/sticky to work with I am wondering what I’ve done wrong.
The 2nd time I upped the hydration by 2% as you suggested in another article but I have had the exact same results 🙁 thanks!
Hi Lisa, the first thing I would look at is the yeast. Have you used enough yeast and is the yeast fresh enough? If the yeast is old it may not be proving the dough properly.
Also, what temperature are you proving at? My recipes are all for room temperature proving of around 21C/70F. If your room is colder than this you may need to use more yeast.
The next thing I would look at is the flour. Are you using a high quality flour and is it fresh enough? If the flour is old that could also be the reason that your dough is not soft and stretchy.
Additionally, if you’re not using 00 pizza flour, you may need to increase the hydration by more than 2%. Different flours vary greatly and it can take a bit of trial and error to dial in your particular flour.
I hope these pointers help. Thanks