Mixing pizza dough is the first step in the pizza making process. Fortunately, it’s really easy and you don’t need anything fancy, it can all be done by hand. Check out the video below and the recipe at the bottom.
Mixing pizza dough by hand is the most authentic way. It’s also really easy and very rewarding.
In part 1 of this series about making Neapolitan pizza from scratch, I explain everything you need to know about mixing pizza dough by hand. As well as the recipe, I have also made a video below so you can follow along at home.

You can check out part 2 on kneading the dough here. I have another video and article showing you everything you need to know about kneading (excuse the pun)!
If you want to find out more about mixing pizza dough by hand then read on! I have provided detailed instructions below as well as the recipe at the bottom of the page.

There really is no substitute for handmade pizza. Try out this simple way of mixing pizza dough by hand and you’ll never use any other method. It really is easy!
I recommend reading through this whole article before attempting the recipe as there’s a lot of key information that I cover. But if you like, you can click here to jump to the recipe.
I think most people think mixing pizza dough by hand is something that’s too advanced for them. In reality, it really isn’t that difficult. It’s also quite rewarding and theraputic!
What’s more, it’s inexpensive and it’s quite a lot of fun. If you have kids, get them involved and make it a bit of family fun, they’ll love it!
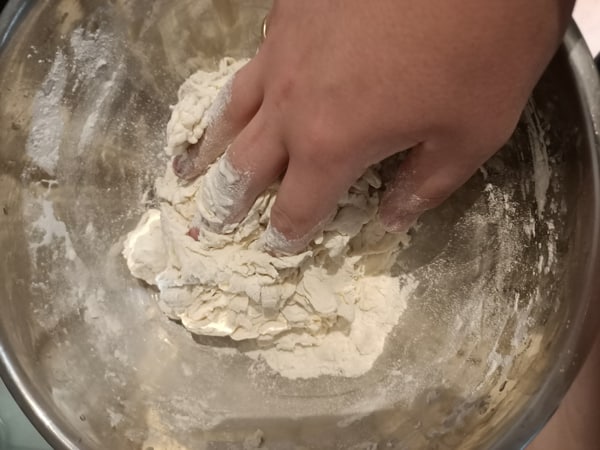
Mixing pizza dough by hand will also develop your dough skills as quickly as possible. You will quickly gain a feel for the dough and an understanding of how it works.
The list of things you’ll need for hand mixing is pretty small:
And that is all you need! Chances are you’ll have a large bowl and a jug anyway.
You may even have some digital scales. Most digital scales are fine for weighing the ingredients.
However, you will need some accurate digital scales for weighing the yeast. But you can pick these up cheap on Amazon.
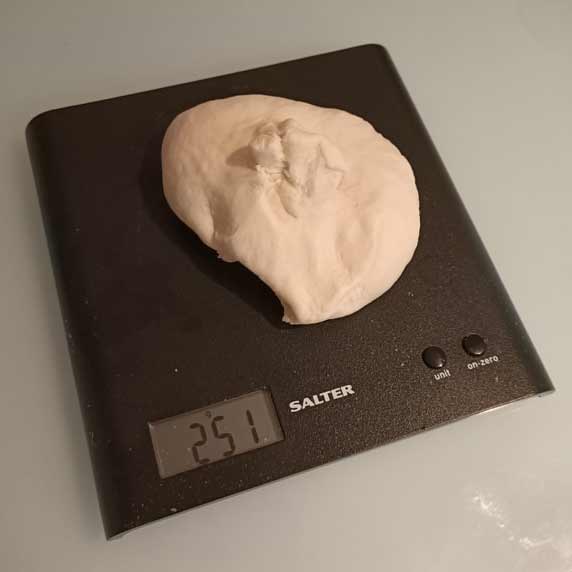
The main type of scales that I recommend are the ones where the entire top of the scale can weight ingredients. The classic example of this are the salter scales that I use:
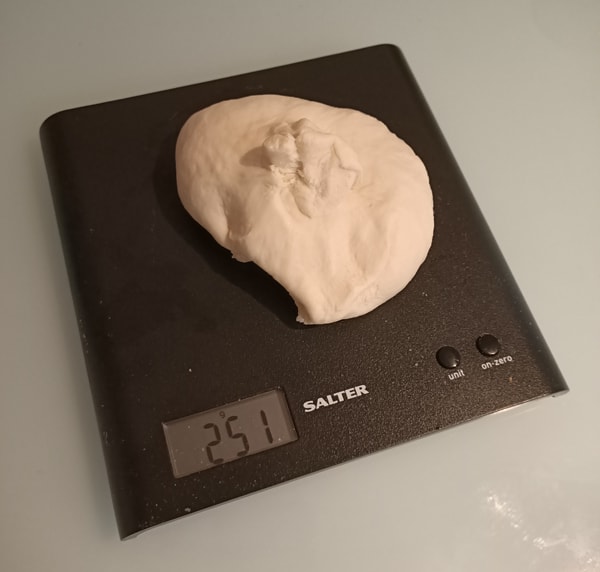
You may have some old digital scales in the cupboard which should do the job. However, it can be quite easy to get a false reading when weighing your dough. Sometimes the bowl or dough you are weighing doesn’t sit on the scales properly. Especially with some of the older models.
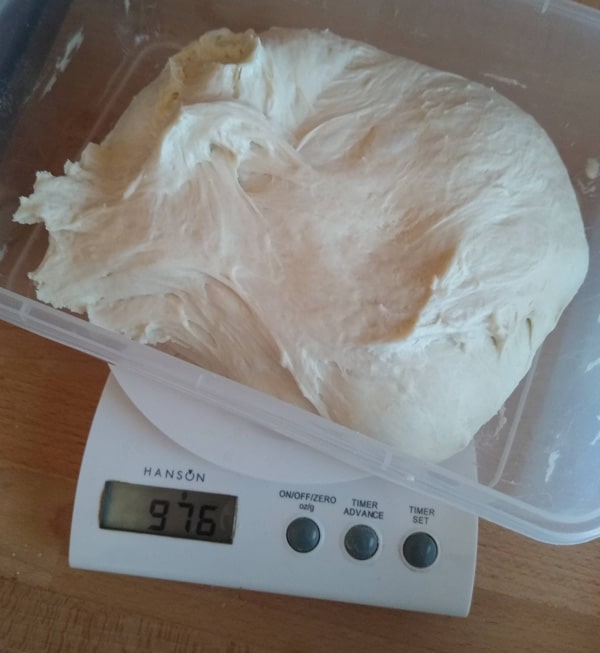
Also, most of the old digital scales I’ve used (like the ones below) time out quickly so you lose your measurement half way through. And they’re often very delayed so you end up adding too many ingredients and having to take some out.
But if you’re looking for some new ones, I can highly recommend the classic Salter scales I use. They are very reasonable priced and they are usually available on Amazon.
In the end, just use whichever scales you have available. I would highly recommend weighing everything and working in grams though. Using cups is inaccurate and makes achieving consistently great hand mixed pizza dough very difficult.
Whilst the salter scales are an excellent option for pizza dough in general, they only have an accuracy of 1g. This is plenty good enough for weighing flour, water, and salt.
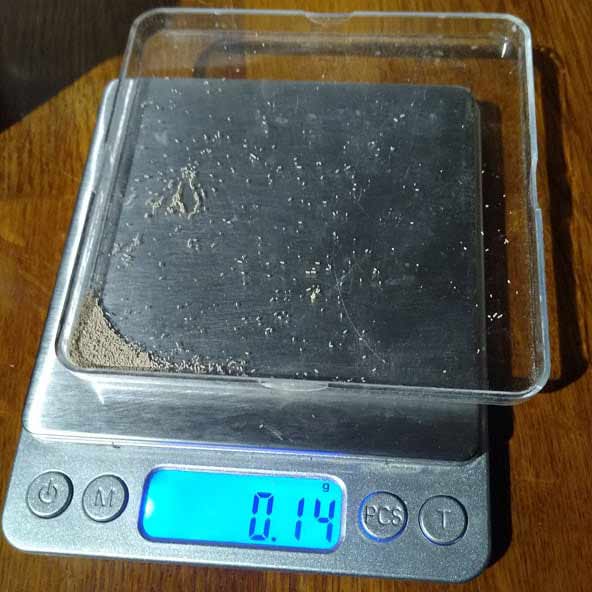
When it comes to yeast, however, we really need some scales accurate to 0.01g. That’s right 0.01g! This is especially true if we’re doing long proves, like 24 hours. Take a look at the accurate digital scales I have below.
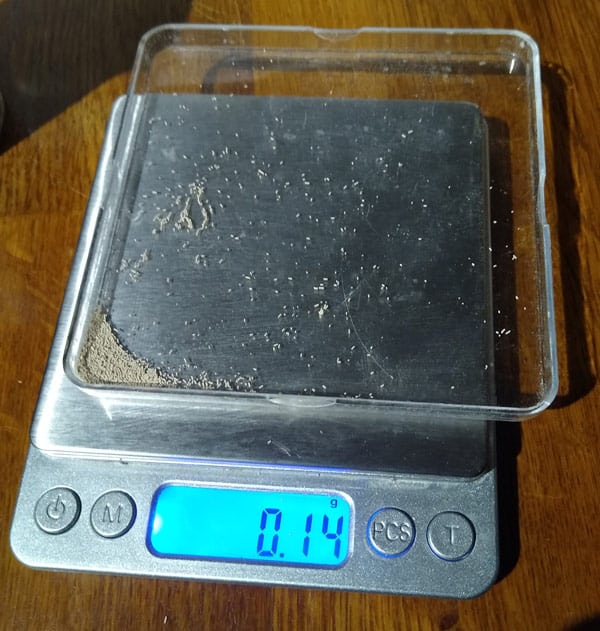
With Neapolitan pizza, prove/fermentation times typically range from 12 hours – 48 hours. For this, we will need some scales that are capable of measuring tiny amounts of yeast.
The ones I have are very reliable, cheap, and you can usually find them on amazon.
The only downside with these scales is that they can only weigh up to 500g. But if you have some regular digital scales anyway then you only need to use these for weighing yeast. Perfect!
The ingredients for a classic handmade Neapolitan pizza dough are really simple. You only need 4 ingredients:
Most great bread in general only uses these 4 ingredients. You can experiment with adding olive oil but it’s not traditional and personally I don’t find it helps a deal.
In fact, I actually find that adding oil can make your pizza burn too easily. If you are working with an oven which doesn’t get very hot though, it could be useful.
In general, the best flour for homemade pizza, or any pizza for that matter, is 00 flour. This is a finely milled flour which is quite high in protein.
Because the flour is so fine, it produces a dough which is wonderfully soft. And due to the high protein content, it produces a dough which is very strong. This allows the pizza to be stretched out really thin by hand.
Caputo pizzeria is a type of flour which is generally regarded as one of the best pizza flours in the world. It is a 00 flour from Italy, which is made specifically for Neapolitan style pizza.
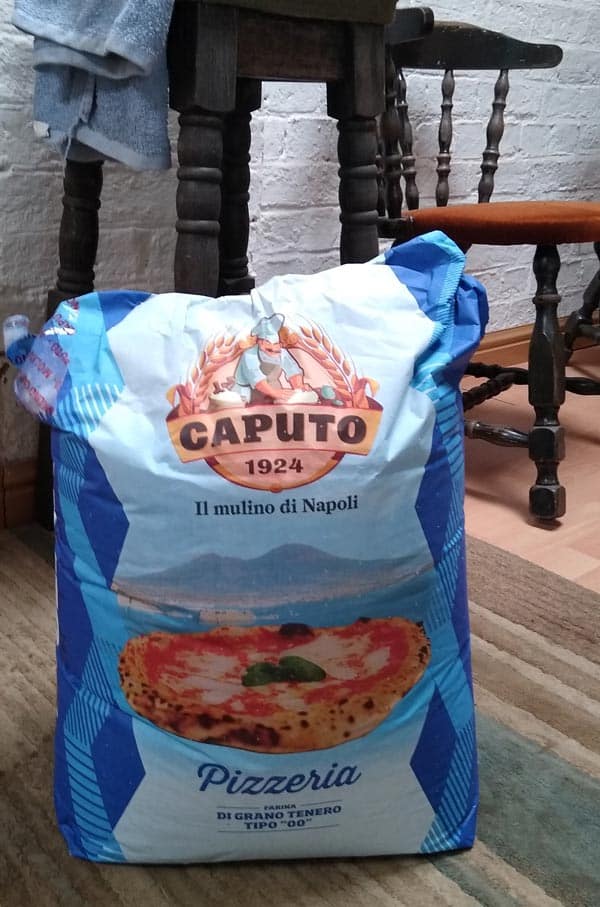
Caputo Pizzeria is my favourite flour for hand mixed pizza dough, as you can see from the picture above. I bought a giant bag of it! This is typically the cheapest way to buy the flour but you can often find smaller bags on Amazon.
If Amazon don’t have the smaller bags in, they often have the large chef bags, like the one I have. Obviously it’s more money but also much better value for money. You could always split the cost with a friend, or just make loads of pizza!
Another great option for 00 flour that I’ve used quite a lot is called Molino Grassi. It is an Italian 00 flour which is designed for pizza and pasta. I have used it for both and found that it makes excellent hand mixed pizza dough. It is also generally more cost effective than Caupto flour.
If you can’t get any of these flours then try to get any 00 flour which is meant for pizza making. Most supermarkets stock 00 flour, and most of it is perfectly fine to use.
Failing this, you could always use some Strong White Bread Flour. This type of flour is available everywhere and can be used instead of 00 flour due to it’s high protein. Just bear in mind that you will need to add a little more water if using Strong White Bread Flour (see recipe at end of article).
Salt is very important in pizza dough. As well as seasoning the dough, salt also helps to build strength in the dough as it proves.
To be honest, it doesn’t really matter which type of salt you use, as long as it’s fine. I just tend to use cheap regular table salt like the one below. Table salt is cheap, fine, and easy to add to your mixing bowl.
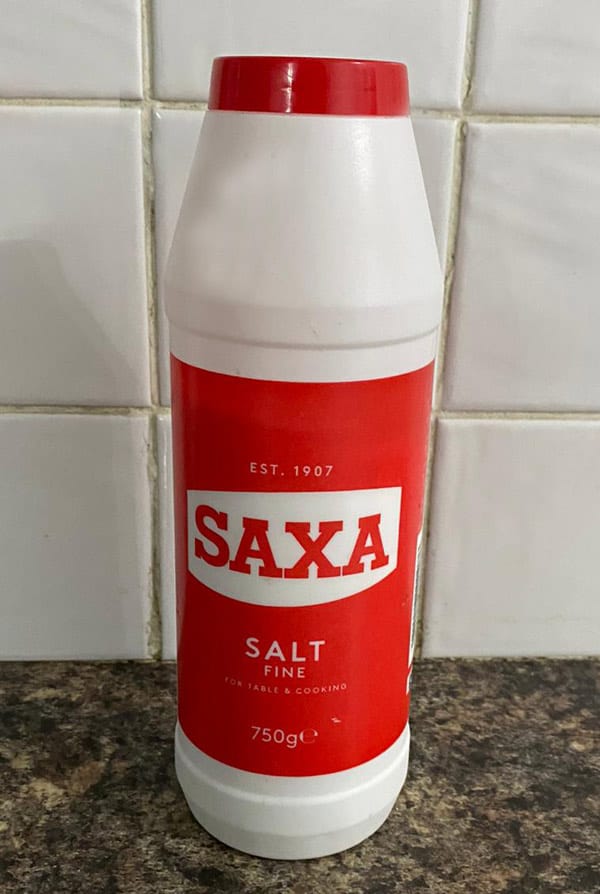
The salt need to be fine so that it mixes evenly into the dough. If you have coarse salt then just be sure to grind it down in a salt mill or a pestle and mortar.
The problem with using a salt grinder is that we need to add quite a lot of salt to our dough so it will take a long time. This is why regular table salt is great, and why most pizzerias use it.
There are many different types of yeast you can use for hand mixed pizza dough. However, for most people, I recommend using instant dried yeast. It is readily available, cheap, lasts for a long time, and is really easy to use.
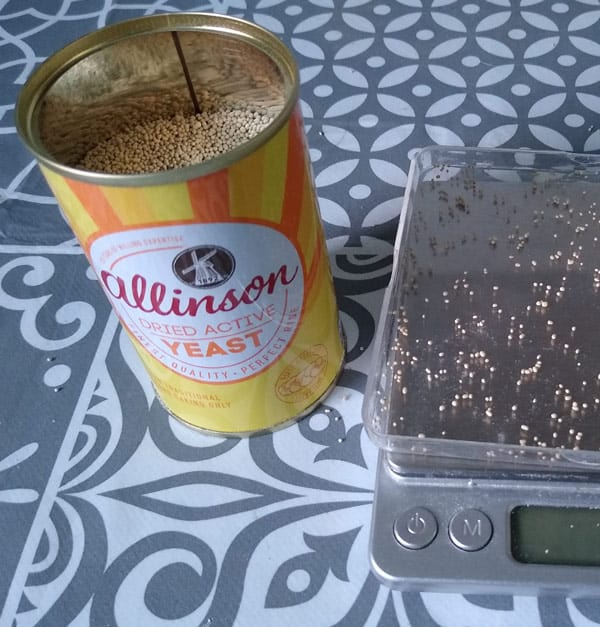
Fresh yeast is also a great option but it does require a bit more work. For this recipe, I’m sticking to instant dried yeast. Dried yeast is available in most supermarkets or online.
If you want more information on different yeast, check out my article on fresh vs dried yeast here.
If you get instant dried yeast (easy bake) you can add it straight to your flour. If you get active dried yeast, you will need to whisk it into your water first.
The method for mixing the ingredients by hand is super easy and barely requires any explanation.
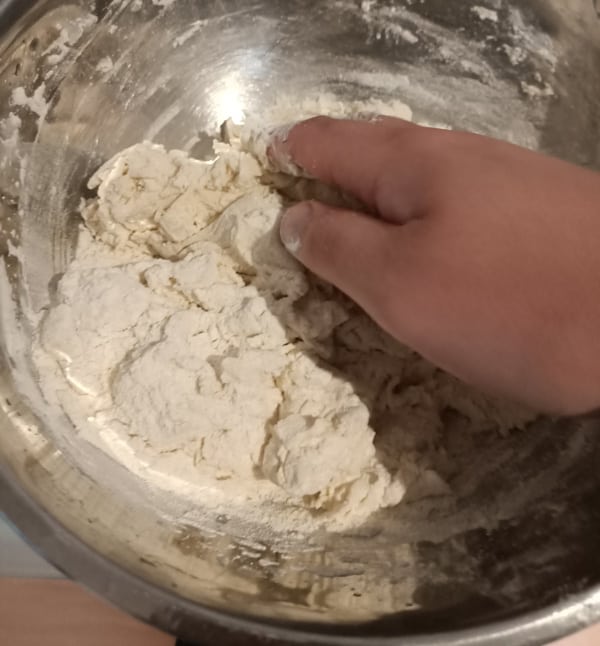
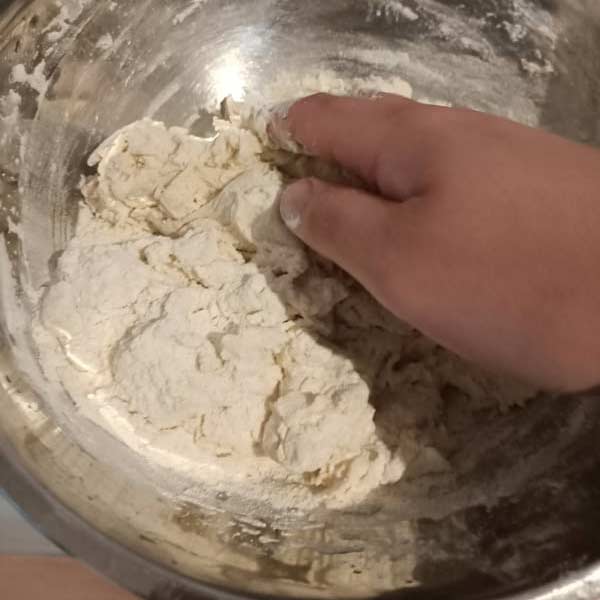
Simply place your fingers together so there are no gaps in your hand. Starting from the middle of the bowl, stir in a circling motion, bringing the ingredients together.
Once you start forming a dough, press down in order to incorporate as much flour into the dough as possible. For Neapolitan pizza, we want quite a dry dough that will be really strong.
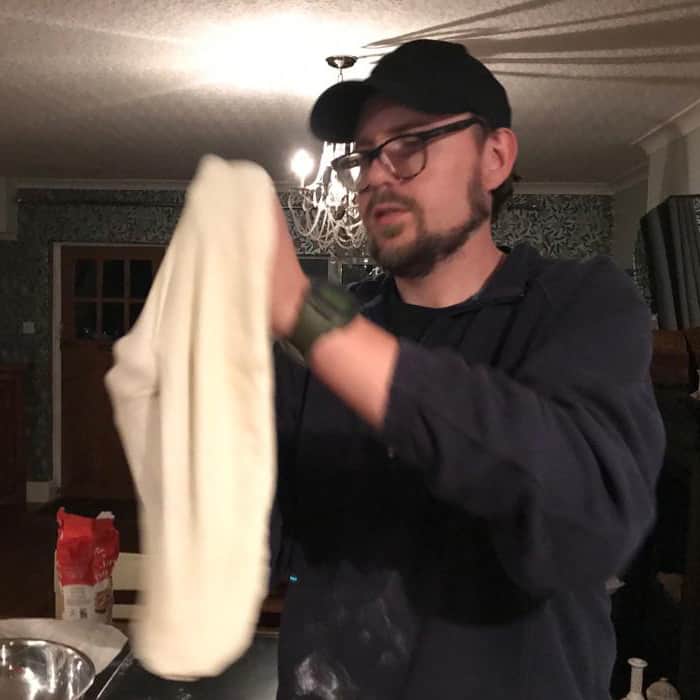
This will enable us to stretch the pizza out really thin. Don’t worry if your dough looks dry, it will become smooth after we rest if for 30 minutes and especially after kneading.
Now we have everything we need, let’s jump into mixing the pizza dough. Follow the recipe below and check out the video at the top of this page.

With 00 flour:
Note: Caputo 00 pizza flour is an excellent option, especially for Neapolitan style pizza. It is one of the more widely available “professional” pizza flours. I have provided a link to it on Amazon below (a large chef’s bag). Aside from this flour, most 00 flours should work fine.
With Strong White Bread Flour:
Note: Any high protein white bread flour should be a decent substitute for 00 flour. Ideally you want a protein content of around 12% – 14% (sometimes shown as 12g – 14g per 100g). I’ve provided a link to a strong white flour on Amazon below (a large chef’s bag).
Not all the following utensils are required but these are what I use and they tend to make the process much easier.
Any large bowl could be used for mixing the dough but I like using the metal ones since they’re lightweight, stackable, and easy to clean.
Click here to check out metal mixing bowls like the ones I have on Amazon.
These are affordable, easy to use, and precise (accurate to 1g). I don't recommend using cups as measurements as they are inprecise.
Click here to take a look at the type of digital scales I use on Amazon.
These kitchen scales are accurate to 0.01g and are perfect for measuring the tiny amounts of yeast needed for long proves.
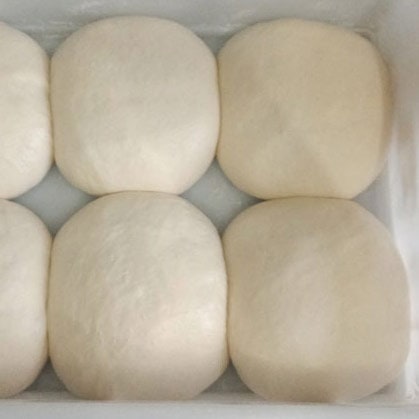
Pizza proofing boxes are an excellent investment. They are airtight and they make taking the dough out for shaping very easy.
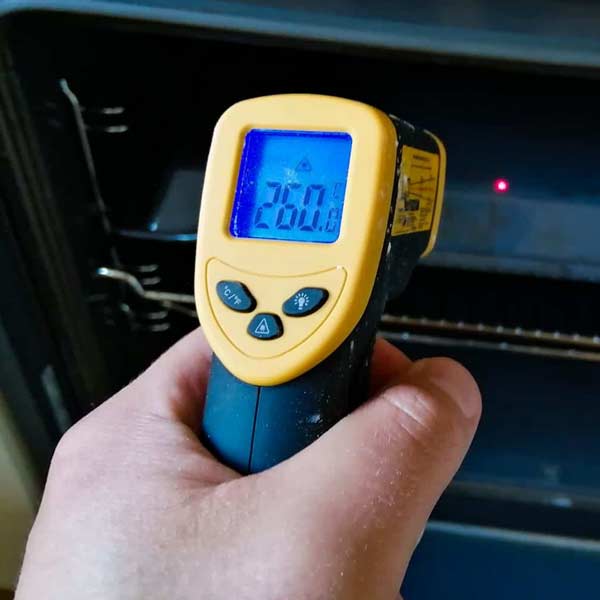
An infrared thermometer allows you to instantly check the temperature of the stone, ensuring it is within the ideal range.
Click here to check out a pizza peel similar to the one I use on Amazon.
A 12 inch peel is ideal for Neapolitan pizza and makes loading and removing your pizza from the oven really easy.
Click here to check out a pizza peel similar to the one I use on Amazon.
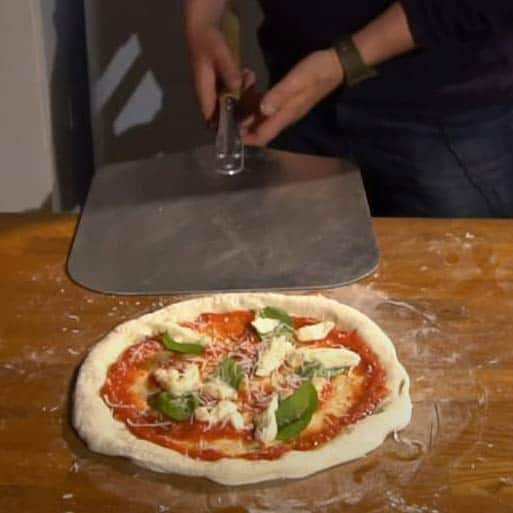
A turning peel is designed for rotating the pizza during cooking. If you're using a pizza oven it should lead to a superior and more even cook.
Click here to check out a pizza peel similar to the one I use on Amazon.
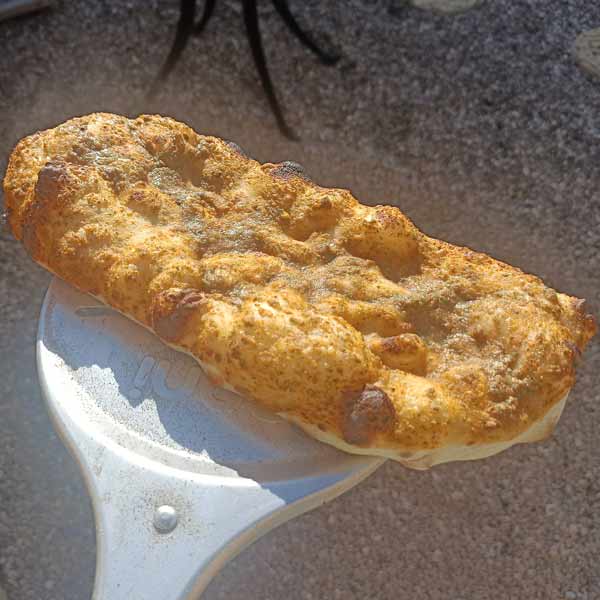
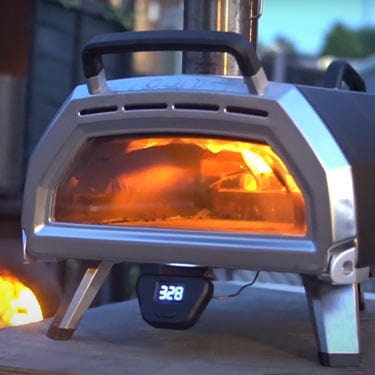
A pizza oven is guarenteed to take your pizzas to the next level. I have an Ooni Karu 16 which reaches 500C/930F and cooks pizza in as little as 60 seconds! A regular oven simply cannot match the cook of a pizza oven. I love my Ooni!
And that’s it! Mixing pizza dough by hand really is that simple. Check out part 2 here where I explain the kneading of the dough.
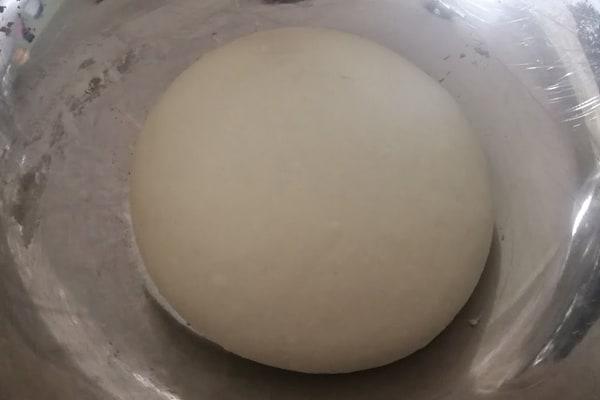
The mixing is so easy and once you’ve done it, you’re ready to move onto the kneading in part 2.
Please feel free to watch the video and leave me a comment on YouTube and subscribe or like if you found the video useful. You can also leave a comment at the bottom of this page.
I’m new to making videos and I want them to be as good as possible so your feedback is greatly appreciated.
I’ve tried to go into as much detail about mixing pizza dough by hand as possible in the video. Everything in the video is what I wish I knew when I started making pizza.

Get making some excellent pizza by hand!
I recommend that everyone tries mixing pizza dough by hand before they go to using a kitchen mixer. You may find that you want to use your hands all the time. It’s quite addictive!
Good luck, and get mixing!

I’m Tom Rothwell and I’m super passionate about all kinds of homemade pizza! In the last few years I've been on a quest to find the perfect pizza. Now I'm sharing what I've found out with the world!

If you're interested in hiring me for your event in the UK, feel free to check out my website with the link below.
Pizza Catering
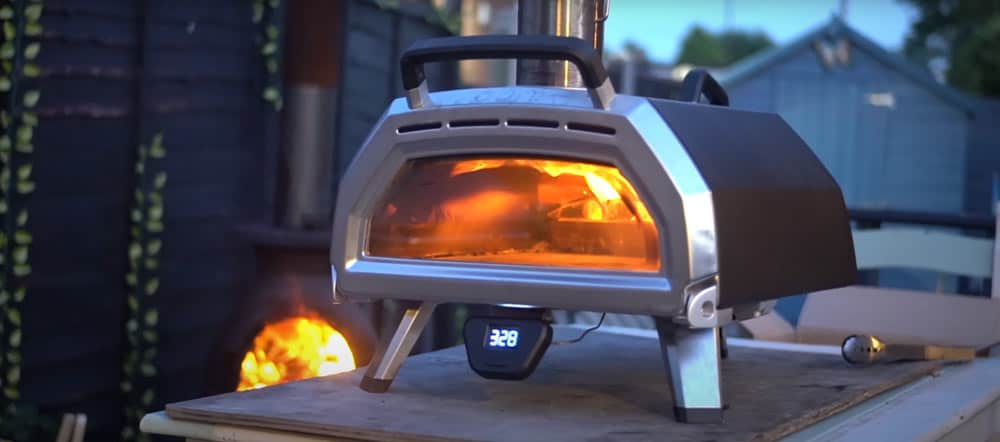
I often get asked what type of oven I use for my pizzas. Well, I use a pizza oven made by a company called Ooni.
The range of pizza ovens that Ooni offers is just brilliant. They cover all bases, and all price points. There's affordable and portable models such as the Fyra 12 Pizza Oven and then there's state-of-the-art models such as the Karu 16 Pizza Oven pictured below.
In all honesty, I would say that the oven makes a huge difference. If you're looking to make authentic Italian pizza, a pizza oven is a must.
By clicking the link below and purchasing from Ooni, you would be supporting this website. I've been using their ovens for a long time now and I wouldn't recommend them if I didn't believe in their products.
Time to make some amazing pizza!

I’m Tom Rothwell and I’m super passionate about all kinds of homemade pizza! In the last few years I've been on a quest to find the perfect pizza. Now I'm sharing what I've found out with the world!

If you're interested in hiring me for your event in the UK, feel free to check out my website with the link below.
Pizza Catering
Why doesn’t your dough recipe have any oil? I made your dough EXACTLY to your directions. It was a bit dry before the 30 minute resting (I know I could have added less flour. You did say that). It was perfect after the 30 minute rest. I knead the dough for 12 minutes with a tiny amount of bench flour. The dough looks great. Here’s where I veered. I then brushed on a small amount of olive oil before storing it in the fridge. I’ll let you know how the pizza turns out 36 to 48 hours from now.
Hi Rex, I’m glad you’re happy with your dough so far!
I’m trying to be as true to the Neapolitan style as possible, which doesn’t include oil. The main reason for this is that the pizza is intended to be cooked in a pizza oven which reaches temperatures of up to 500C/900F. At these temperatures oil in the dough can cause the pizza to burn easily.
However, I have also used this exact recipe in a regular oven with excellent results. If you wish to experiment though, you can try substituting some of the water in the recipe for olive oil. This may help you to achieve a better crust and colour when cooking in a regular oven.
Also, dough can easily dry out during a long prove, especially in the dry air of a refrigerator. In this case, I don’t mind brushing a little oil on the dough to protect it as it proves.
I hope that answered your question!
I finished the pizzas. I made some of the dough into a Roman style pepperoni pizza. I made the rest of the dough into 2 traditional neopolitan style pizzas. They all came out great! This is my new dough recipe. I really appreciate you sharing your recipe. Keep up the good work!
No problem Rex, thanks a lot for the kind words. I’m so glad the pizzas turned out so well for you!
And stay tuned for more content, I’m working on the rest of this series. I’ll be uploading the next part shortly.
Cheers
Do you adjust the amount of yeast depending on the temperature? It’s getting a bit cold in the UK now and I was wondering if I would need to add a bit more if I leave it in the kitchen (about 16-18 degrees) or should I prove it in the airing cupboard now?
Hi James, good question. Yes, you should add a little more yeast, or prove in a warmer place, or prove for a bit longer. Try not to rely too much on timings, they’re useful for a good estimate but be sure to keep checking your dough.
A great app I use regularly is called PizzApp+. I’ve found it to be useful for estimating yeast quantities based on temperature and prove time. I’ll be bringing out an article on this in the near future so stay tuned. I have mentioned it at the bottom of the no knead article here.
Cheers
I love the site – thanks. I made the poolish which is fine and then added the rest if the flour but decided to use strong bread flour for half of it and when I came to mix it all together I’ve had to add a bit more water and leave for the hour as it looked a bit dry.
Hi Melanie, I’m glad you like the site. And stay tuned because I have a lot more planned!
With strong white bread flour you do generally need to add a little more water to the dough. But don’t worry too much if your dough looks a little dry initially. It will become softer as it rests and as it proves.
I think a lot of people tend to add too much water in an effort to make a soft dough. But after proving, when it comes to shaping, they end up with a dough which is too soft and sticky. This makes the dough really difficult to stretch. It is then easy to end up with a thick and doughy pizza.
This is why I recommend starting with a drier to dough to make stretching as easy as possible. Once you have mastered this with a drier dough (56% – 58% hydration) you can then start gradually increasing the hydration to experiment, if you wish.
Good luck with the pizza!
Hi Tom
Thank you so much for providing much information regarding poolish pizza. It’s all bit overwhelming as I have never made poolish pizza
Could you please provide the correct measurements to make 4 poolish pizza at about 80% hydration, I have been told the higher hydration the better the pizza. Can I double the ingredients if I need to make more.
I did watch your video but it wasn’t poolish pizza.
Thanking you so much for your advice.
Hi Rachel, I’m not going to provide a recipe for 80% hydration because I think it is too high. It is certainly too high for Neapolitan pizza which typically falls in the 55%-65% range.
Higher hydration only leads to better pizza if you have the correct flour for it and you know what you’re doing (an expert). 80% is incredibly high hydration dough! It’s in the ciabatta range!
For a traditional round pizza, it needs to be very strong to be stretched thin. If you use a high hydration, your dough will not have the strength for shaping.
In my opinion, most beginners go too high with the hydration and try to run before they can walk. I would highly recommend learning to make pizza with a 60% dough first. The kneading is easier and so is the shaping. Too many beginners use a wet dough that they cannot work with. The result is a often a dense and doughy pizza with poor shaping.
I also believe that most people don’t realise how good 60% pizza can be. When kneaded properly, proved sufficiently, and shaped to perfection, the result is quite incredible. Once you can do that then I would say you can experiment with higher hydrations. But even then, gains are small, especially if you are making Neapolitan style pizza.
The other factor that makes a huge difference is the oven. The higher the temperature, the better the pizza. This is why pizza ovens are so good. They cook at 450C/900F and this produces a pizza with an excellent texture.
I can highly recommend the Ooni pizza ovens which you can check out here, I use an Ooni and it makes incredible pizza. If you are using a regular oven, be sure to cook at the highest temperature you can.
I’m planning on making a video on poolish in the future so stay tuned for that. But in general, I would probably recommend sticking to normal pizza and perfecting that before moving onto poolish.
And yes, you can just double all the ingredients to make more.
If you do want to look more into different hydrations, feel free to check out my article on hydration here and my article on baker’s percentages here.
Thank you for the questions and good luck!
Hello and thank you for this recipe. I am on a quest for the perfect Neopolitan pizza and I hope this doesn’t disappoint. The dough is resting now. It was very dry, so I did add a bit more water. I’m having trouble trying to print the recipe and all of the steps without using 20 sheets of paper, so I think a “print recipe only” area would be helpful, at least to me. Or I’m open to suggestions. If using conventional oven, what would instructions be for that? Thank you for sharing
Hi Teresa, having the print option may be something that I look into doing in the future. I think most people tend to use their phones for the recipe if possible? That’s what I do anyway but I take your point.
For a conventional oven you can use exactly the same method. The only difference is that the pizza will take around 6-8 minutes to cook instead of around 60-90 seconds in a pizza oven. Also, the toppings can have a tendancy to burn in a regular oven so you may want to experiment with cooking the pizza for a minute or so first before adding the toppings and going back into the oven.
I recommend preheating your oven to it’s maximum temperature with the fan turned on (if you have one). Feel free to check out my article here for more information on this.
Thank you and good luck!
Hi Tom
Love the website! Many recipies say to bulk ferment for 2 hours then ball and prove for 24 hours or so. Problem I find is the balls spread out too much and become sticky. I’ll be trying your approach to bulk ferment longer and prove for shorter time. What difference does this make?
Hi Jamie, your explanation is the exact reason why I recommend a longer bulk ferment.
When fermenting balls for a long time they lose their strength and their shape. This makes them more difficult to shape.
Therefore, I recommend performing a longer bulk ferment and a shorter balled ferment. This will allow you to build a nice flavour and texture in the dough without sacrificing the workability.
In addition, bulk proving allows you to monitor the dough better:
– If the dough is overproving you can easily remove the gas (by hand) to slow the proving down (the gas will return as the dough continues to prove). This is known as knocking back (i’m planning an article on this soon). You can also refrigerate the dough to slow/almost stop the proving.
– If it looks like the dough is proving too slowly, you can ball the dough sooner so that it will be ready sooner. You could also place the dough in a warmer place to speed up the process.
If you had to knock back balled dough it would mean reballing them all over again!
I hope this makes sense and good luck!
Hi,
Amazing page! I’ve learned so much already- thank you! What if I wanted to make this pizza on an evening. Can I use more of the dry active yeast and make the dough on the morning? Will this effect the dough much?
Thank you in advance!
Hi Binks, good to hear that you’re finding the site helpful.
You can use more yeast and go for a 6-12 hour prove. I use an app called PizzApp+ which I find really helpful for figuring out how much yeast to use for different proves.
You’ll probably need use 2-3 times as much yeast. In general, the dough won’t be quite as flavourful or as forgiving to work with but you can still make excellent pizza.
Good luck!
Hi, When doing the 20 hrs of Proving is it done in the refrigerator or just leave out on counter?
Hi Mike, the 20 hours of proving is done out of the fridge, at room temperature. About 21C/70F is an ideal temperature if possible but a little hotter or cooler is fine too. Just bear in mind that the temperature will affect the proving somewhat.
I have made a pizza dough calculator which you can check out here. This should help you to adjust the yeast to your room temperature.
Thanks for the question and good luck with your pizza!
Thank you so much for your work on this site. Very much appreciated and very well done!
Thanks so much for the kind words Cindy. It pleases me that people are enjoying my content and it provides excellent encouragement. Cheers!
This is an incredible site! Thanks!
Thank you Liceo, I’m glad you’re finding it helpful. Stay tuned as I have lots more planned!
Hello Tom,
I just got an Onni Koda 16 oven for Christmas and am very excited about it. I went on Amazon to buy the Caputo “blue” bag of pizza flour and receive the red bags instead. However, they were marked “pizzeria” on the front.
I contacted the seller, through Amazon, and they said that Caputo has changed blue bags to red and labeled the high temp flour “Pizzaria”. In the US I have only found the blue and red flour from Caputo. Have you heard of this labeling change?
Hi Lee, if you check out the official Caputo website here, you can see the the pizzeria flour is indeed red so I think you have the correct flour. The website is quite handy as it has more detailed information about the different flours available too. Good luck with your pizzas!
Hi Tom, Ive enjoyed watching your videos. Do you never use semolina to stop the pizza from sticking to the peel? Also how about a video of you cooking?
I just bought the ooni multi fuel, and have loved it. I built a full size brick oven a few years ago, but in this weather and the size i built it,it takes a full day and loads of wood to get it up to temperature. The ooni has made it possible to just make pizzas for 2 people because of the little effort in setting it away. I am trying to get used to the temperature variation though, as it can burn out very quickly. (Haven’t tried gas yet, wood is so much more fun.)
Have you tried their cooked sauce recipe? What are your thoughts versus your own? (Which is similar to what I have previously been doing).
I realise I have been too rough with my dough, which has sometimes resulted in the crust not puffing up. This is why I looked at your site in the first place.
Thanks for all of the tips.
Roy
Hi Roy, thanks for the comment. A video on cooking in an Ooni is a good idea, I’ll stick it on my to do list!
I haven’t tried Ooni’s specific sauce recipe but I’ve made similar ones. I don’t mind cooked sauces, especially if you don’t have the best quality tomatoes available.
But in my opinion, it is better to use the highest quality tomatoes you can get and to not cook the sauce. More of the natural flavour of the tomato is preserved when it isn’t cooked and the sauce also cooks somewhat on the pizza as it’s cooking.
In terms of the Ooni sauce specifically, personally I wouldn’t add oil to the sauce. I like to drizzle a little oil over the toppings to help them cook but if there were oil in the sauce too, this would lead to too much oil in my opinion. You could end up with a soggy pizza (or one that’s too greasy).
Also, personally I don’t like the addition of sugar in the Ooni sauce. Again, this is fine if you have lower quality tomatoes but with good tomatoes you are detracting from the tomatoes natural flavour and sweetness in my view. I also like pizzas to be very savoury and not too sweet.
I think adding sugar and oil is more in line with American style pizzas, not Neapolitan pizzas. But that doesn’t mean you can’t add them of course. I suppose it comes down to personal taste and what works best for you.
I would also prefer not to add garlic to the sauce since I may want to make some pizzas that don’t taste of garlic. When I want a pizza with garlic I just add sliced garlic as a topping. I have found that keeping the sauce as simple as possible with the best quality tomatoes works best for me. I don’t mind adding basil to the sauce though but I tend to add this as a topping anyway so it’s not really neccessary.
Hope this helped. Of course, it’s all just my opinion. Feel free to experiment!
Hello Tom,
I wanted to thank you for this site – it has been such a help to me. I finally took the plunge and treated myself to a Roccbox a few weeks ago, after years of making pizza every weekend in my domestic oven – the same way every time, the same quick-prove dough, rolling it out with a rolling pin, slow cooked tomato sauce on top with loads of cheese and other toppings. Now I can cook pizza at super high temperatures I thought I should probably learn how to do it the proper way. I’ve found out that it’s just as hard (maybe harder?) to unlearn your old ways and learn new ones as it is to start from scratch, but you have helped me so much along the way.
I bought a load of 00 flour on your recommendation and made up some dough this weekend at your recommended hydration – which felt far too low at first, I’m used to working with much stickier, looser dough. But I left it for an extra hour or so to prove just to be on the safe side, and it was such a dream to work with – stretchy but strong, and makes for such a pillowy soft crust and lovely thin base.
Your videos have been so reassuring and useful – great to see how the dough looks at different stages, and I’ve found the dough calculator invaluable too. Thank you! You are doing the lord’s work! 😀
Thank you so much for the very kind words Emma! Yes, making pizza is quite challenging! But it does get a lot easier the more you work with it, to the point that it almost becomes second nature. And I think understanding the process is half the battle.
The hydration is a massive key, so many people are working with wet dough. This makes the shaping much more difficult – which is where most people fail in my opinion. It’s also no good for traditional Neapolitan style where you need a really thin base. And as you say, once you have a pizza oven, achieving a soft pillowy crust is no problem – even with a low hydration.
Hope you keep enjoying your pizza making, and eating of course!
Morning Tom, just to let you know that I had a go at your recipe. I think your way to bulk ferment is the way to go.
I just want to say thank you, very happy here in Australia. Cheers, top step by step video.
Thank you for the nice comment Sandro! And yes, I do think the bulk ferment makes timings much easier. It can also help to get more even air pockets in the crust.
Good luck with your pizza making!
Hi Tom,
So sorry if you’ve already covered this and I just can’t find it. I have frozen two dough balls, are there any special techniques I should use once thawed?
Many thanks in advance!
Michelle
Hi Michelle, there aren’t any special techniques. Just ensure the dough balls are properly covered, as usual.
Also, if the dough still needs proving it may take a bit longer than normal once defrosted. Other than that, it should be plain sailing!
Good luck!